I will say this again and then stop with the whining (I promise). I have done this blog 3 or four times and for some reason I could not get it to publish even though it said it was published. This is my last time for doing this pattern. If it doesn’t work I will pass it by. *laughing*
I changed my mind twice part way into the making of this slip. I feel like I made it 3 times.
The Princess Slip pattern looked just like the envelope drawing once it was made.
The instructions were easy to follow. The only time I had a problem was when the back piece seemed sizes smaller than the front. At first I thought it was a different size from the front piece…then I thought it had to be the pigeon front that made it seem so much larger than the back.
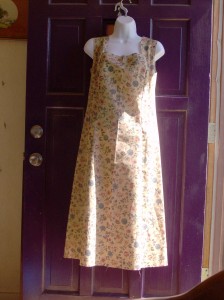
I used a cotton fabric from my stash. I bought fabric to make this slip into a summer dress for my daughter. I decided to make it up as a muslin with my stash fabric. I had the dress hanging on my door trying to decide how long to make the pleats at the bottom when my daughter, Windee, walked by and said, “That would make a great apron!”. I thought she was right. So an apron it became.
I “unsewed” the zipper and opened the back of the dress up. I lowered the neckline, took in the straps a bit over the bust, dropped the armseyes and faded the back in from the straps to the waist.
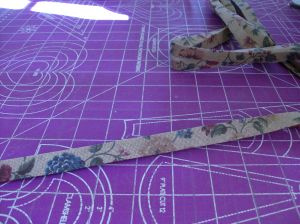
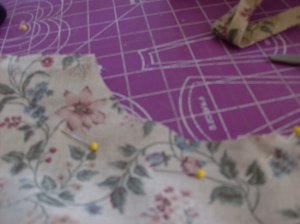
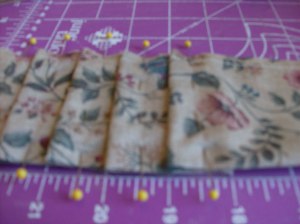
I made bias tape from the same fabric and covered the neckline and armseyes. I pleated and sewed the flounce on the bottom of the apron. I used some decorative stitching on all of these areas. I call them “teeth”, but I think it is a blanket stitch.
I also used ribbon for the ties since I didn’t have enough fabric to make ties.
I didn’t particularly like or dislike this pattern. There were no highlights or lowlights on it for me.
I would recommend this pattern to others. I have recommended it actually.
I sell at a 2nd Monday Bazaar every month. I hung the apron on my “cage”/booth. The apron was my 2nd most popular thing there. People touched it and asked many questions about where I got the idea. *laughing* I explained about the 1912 Project many times that weekend. No one has bought it yet, but I have it marked high because my daughter likes it…a lot.
I think you guys should make a brochure or something we each could print about your business. I could have handed out 2 dozen brochures, business cards…something. Make something we can copy off the site and give to unsuspecting people so they can become obsessed too. *laughing*
1. Pattern Name
Princess Slip
2. Sewer’s skill level
Advanced
3. Pattern Rating
I liked this pattern.
4. What skill level would someone need to sew this pattern and why?
A beginner could sew the pattern easily. The lace insertion might be challenging, but doable with patience.
5. Were the instructions easy to follow? If not, what needs to be changed?
I thought it was easy to follow the instructions. I might note that the front part of the pattern is larger than the back. It was larger enough that it made me stop and scratch my head and I’ve been sewing since I was 8 years old. A note explaining the fit might stop some of the confusion.
6. How was the fit/sizing? Did it correspond to what you thought?
I thought the fit was right on the money.
7. Did you make any pattern alterations? If so, what alterations did you make? Where they fit or design alterations?
Boy did I ever alter the pattern. *laughing* At first I wanted to make a summer dress so I decided against the lace. I dropped the armseye by 2.5″ and faded the curve into the top of the armhole. This change was done for comfort of fit. I added a zipper to the back. Once I decided on an apron I took the zipper out and I dropped the neckline by 1.5″. I shortened the pleated flounce for the design.
8. Other notes:
When I decided to make an apron from this pattern I opened the back and faded the curve of the strap down into the waist. I added ties at the waist and top of the apron for closure.
I enjoyed the design of the slip. I enjoyed the the dress design and I really enjoyed the apron design.
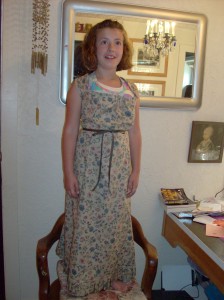
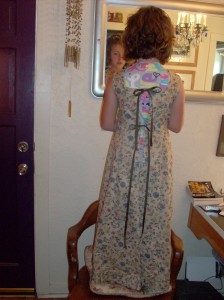
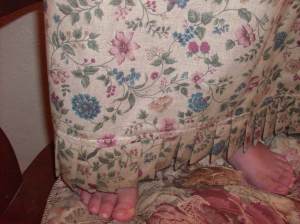
Your slip/apron turned out very nice! I love the shorter pleating at the bottom and the added stitching. Your model is very sweet as well. 😉